How to Install TeamsMaestro on Mac and Windows
Learn how to install TeamsMaestro within Microsoft Teams on both Mac and Windows using the built-in app search.
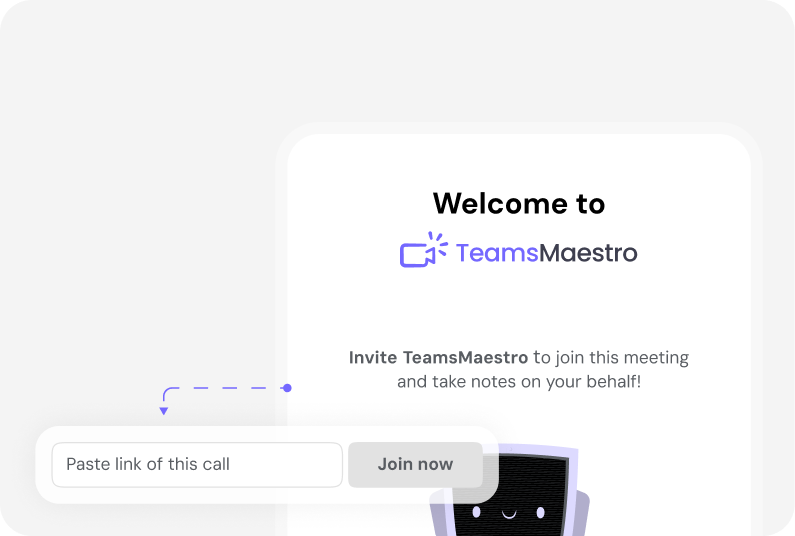
TeamsMaestro integrates directly within Microsoft Teams, so you don’t need to download or install a separate app. Instead, you can easily add it to your Teams environment with just a few simple steps.
Installing TeamsMaestro on Windows
Follow these steps to install TeamsMaestro on your Windows device:
Step 1: Open Microsoft Teams and click on the “Apps” icon located in the left sidebar.

Step 2: In the search bar, type “TeamsMaestro”.
Step 3: The TeamsMaestro app will appear in the search results. Click on the “Add” button.

Step 4: A pop-up window will appear. Click “Add” again to begin the installation process.

Step 5: Once the installation is complete, you’ll see a confirmation window. Click “Open” to launch the TeamsMaestro dashboard and start using the app.

Installing TeamsMaestro on Mac
Step 1: Open Microsoft Teams and click on the “Apps” icon.

Step 2: In the search bar, type “TeamsMaestro”.

Step 3: Click on the TeamsMaestro app from the search results and click “Add”.
Step 4: A pop-up window will appear. Click “Add” again to begin the installation.
Step 5: Once the installation is successful, you’ll see a confirmation window. Click “Open” to be redirected to the TeamsMaestro dashboard.

Conclusion
Installing TeamsMaestro on both Mac and Windows is a quick and straightforward process, ensuring that you can start benefiting from its AI-powered note-taking and meeting management capabilities right away. Whether you're on Mac or Windows, the steps are simple and guide you through the installation in no time.
Languages we support
TeamsMaestro currently supports a wide range of languages for meeting summaries, transcripts, and AI responses — from English and Spanish to French, German, and many more. Our goal is to make every team’s communication experience seamless and inclusive, no matter the language.
If your preferred language isn’t supported yet, we’d love your feedback! Email us at feedback@maestrolabs.com to request new languages or share examples of what you’d like to see. Your input helps us shape the next updates of TeamsMaestro.
Final thoughts
Meeting summaries are no longer one-size-fits-all. With the Language and Template buttons in TeamsMaestro, you can create tailored, polished notes in seconds. Use these tools to communicate clearly, reduce follow-up work, and keep everyone aligned, wherever they are and however they work.
Languages we support
MailMaestro currently supports a growing range of languages for composing, summarizing, and improving your emails. From English and Spanish to French, German, and beyond — we’re expanding our capabilities to make AI communication accessible for everyone.
If your preferred language isn’t available yet, we’d love to hear from you! Email us at feedback@maestrolabs.com to request new language support or share specific examples. We’re continuously improving with your input.
Frequently Asked Questions