How to create an event and customize availability in CalMaestro
Scheduling meetings should never feel like a chore. With CalMaestro, you can quickly set up events that fit your schedule, add the right details, and customize availability so you stay in control of your schedule. Instead of going back and forth with emails or worrying about double-bookings, you can create professional event links that sync with your calendar and are ready to share in minutes.
Getting started with event creation
Before diving into the steps, it helps to know what CalMaestro does during setup. The platform allows you to:
- Create a dedicated event page with details, links, and timing.
- Integrate your preferred video conferencing tools.
- Automatically sync availability with Microsoft 365 or set custom hours.
- Save and manage all your events in one place.
With that in mind, here’s how to create your first event and adjust availability.
Step 1: Click “New Event”
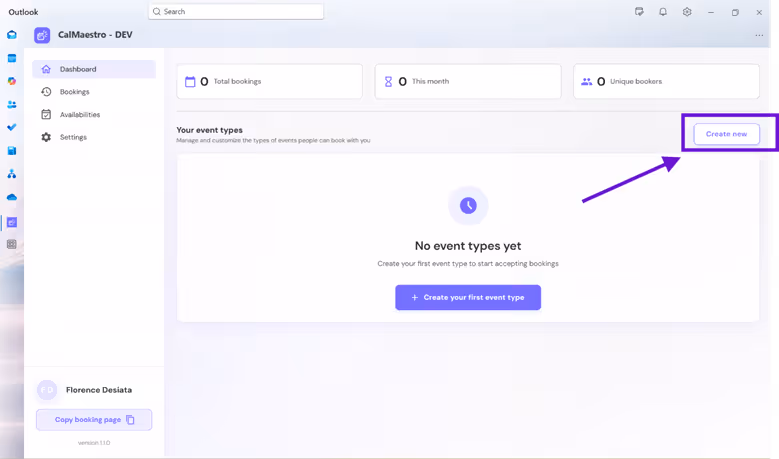
Start by opening your CalMaestro dashboard. On the main screen, click the “New Event” button. This opens a setup page where you can begin customizing your meeting.
Step 2: Fill in the event details
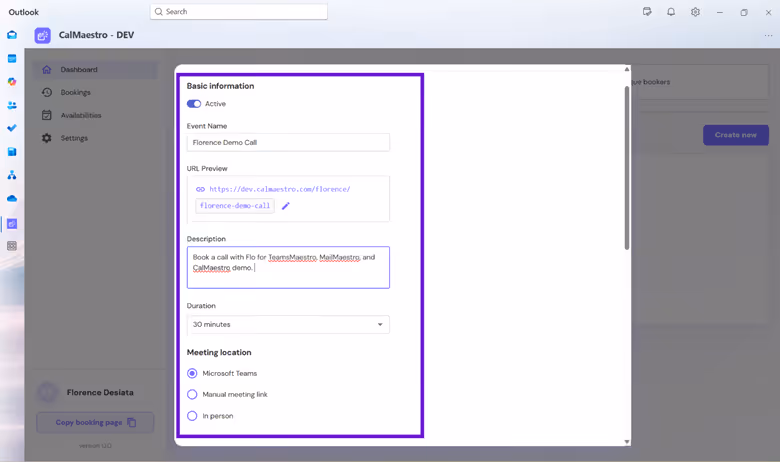
Enter the essential information for your meeting:
- Event name – Give your meeting a clear, recognizable title.
- Description – Add context so invitees know what to expect.
- Duration – Choose how long the meeting should last.
- Meeting location – Pick where and how the meeting will take place.
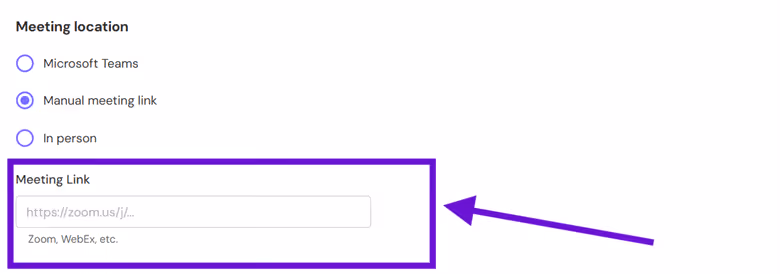
Microsoft Teams is the default option, but you can use any video conferencing app you prefer. Just generate the link in your app (Zoom, Google Meet, Webex, etc.), paste it into the meeting link box, and it will appear in the invite.
Tip: The event URL follows your event name by default. If you want a shorter or more personalized link, click the pencil icon and edit it.

Step 3: Set your availability
By default, CalMaestro uses your existing Microsoft 365 calendar availability. In some cases you might want to share only certain days, for example if you only run demo calls in the mornings. To adjust your availability for a specific event:
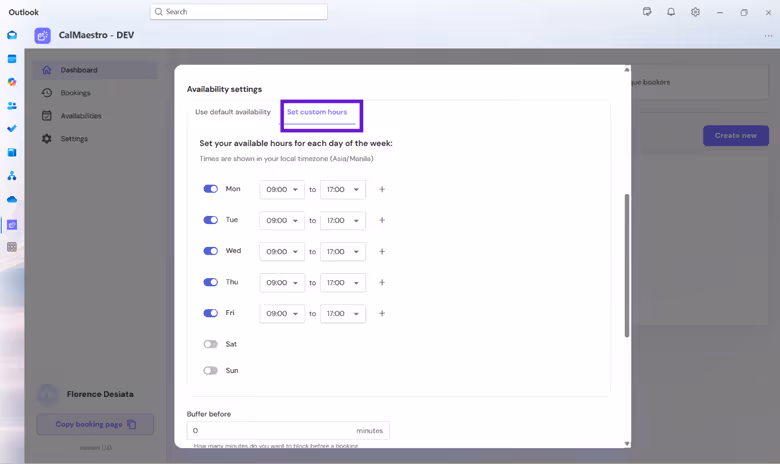
- Click the “Set custom hours” tab.
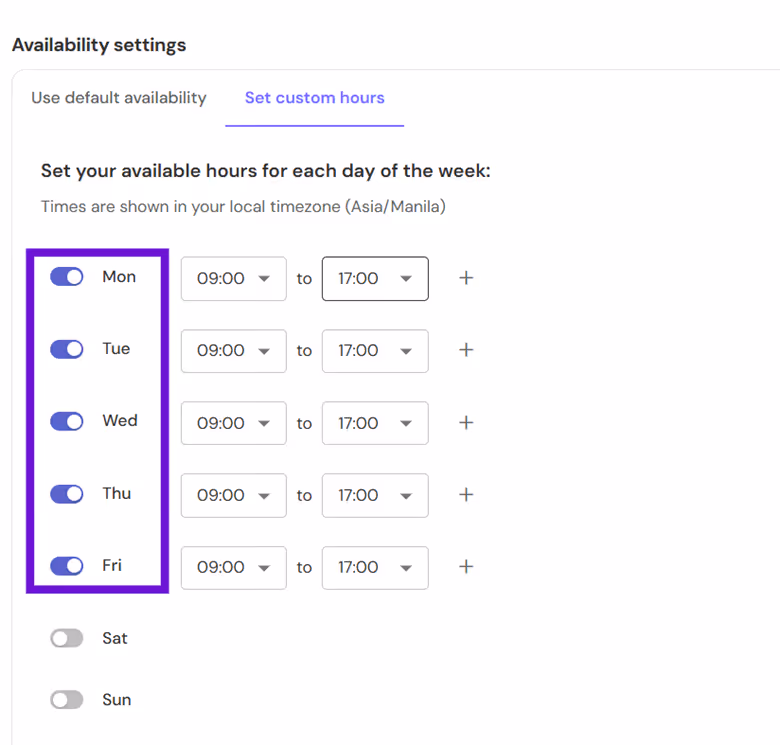
2. Select the days you are available by toggling them purple.
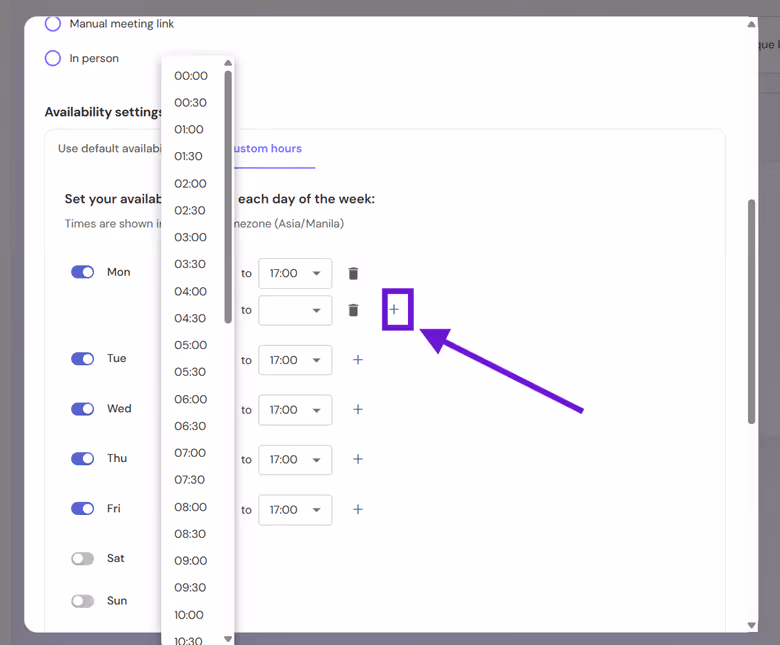
3. Use the “+” icon in case you want to add a break between the slots you want to make available, so you have full control on which you are free to meet.
This flexibility lets you dedicate specific times for different types of meetings without changing your entire calendar.
Step 5: Save your event
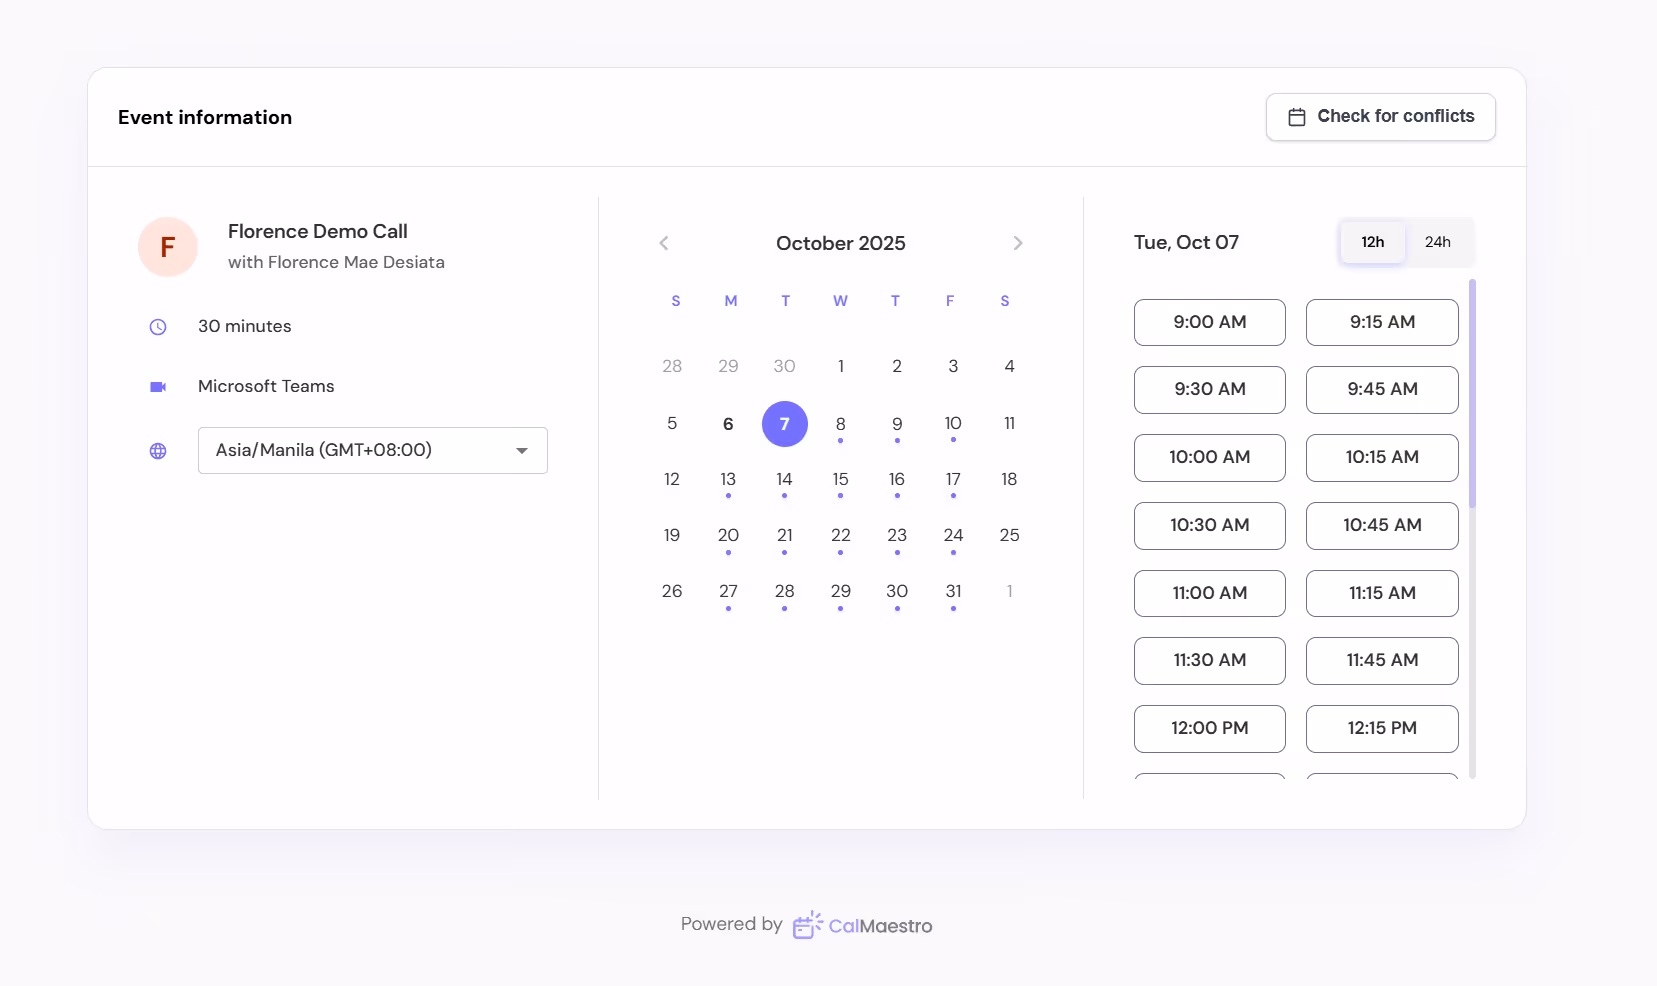
Once you have filled in the details and adjusted availability, click Save. Your event will now appear in your CalMaestro dashboard, ready to share with colleagues, clients, or anyone who needs to book time with you.
Here's how your booking page will appear to your guest:
Final thoughts
CalMaestro gives you everything you need to create professional, flexible events in less than a minute. From customizable meeting links to personalized availability, it works seamlessly with your Microsoft 365 setup while giving you control over when and how you meet.
If you have questions or feedback, we’re here to help. Reach out anytime at feedback@maestrolabs.com.
Languages we support
TeamsMaestro currently supports a wide range of languages for meeting summaries, transcripts, and AI responses — from English and Spanish to French, German, and many more. Our goal is to make every team’s communication experience seamless and inclusive, no matter the language.
If your preferred language isn’t supported yet, we’d love your feedback! Email us at feedback@maestrolabs.com to request new languages or share examples of what you’d like to see. Your input helps us shape the next updates of TeamsMaestro.
Final thoughts
Meeting summaries are no longer one-size-fits-all. With the Language and Template buttons in TeamsMaestro, you can create tailored, polished notes in seconds. Use these tools to communicate clearly, reduce follow-up work, and keep everyone aligned, wherever they are and however they work.
Languages we support
MailMaestro currently supports a growing range of languages for composing, summarizing, and improving your emails. From English and Spanish to French, German, and beyond — we’re expanding our capabilities to make AI communication accessible for everyone.
If your preferred language isn’t available yet, we’d love to hear from you! Email us at feedback@maestrolabs.com to request new language support or share specific examples. We’re continuously improving with your input.
.png)
.png)
.avif)